Disclosure: Jotter is ours. The advice works with any app, or with pen and paper.
In short
In Apple Notes, open the note, tap ••• and choose Lock; it uses your iPhone passcode or a separate Notes password, with Face ID to open. In Jotter, lock a note behind Face ID the same way. Locking hides the contents, not that the note exists.
- Tap ••• → Lock.
- Face ID opens it; a password is the fallback.
- Passwords belong in a password manager, not a note.
Lock a note in Apple Notes
- Open the note.
- Tap ••• and choose Lock.
- Choose your iPhone passcode or a separate Notes password, and turn on Face ID.
To use a different password from your phone’s, go to Settings → Apps → Notes → Password (on older iOS, Settings → Notes → Password) and choose a custom password.
What a lock does — and doesn’t
Locked notes hide their contents behind Face ID. Their title can still show in the list, so give private notes boring titles. If you forget a custom Notes password, Apple can’t recover those notes.
What not to keep in a note
Bank logins and passwords belong in a password manager like iCloud Keychain, which is built for them. Notes are better for things like a gate code, a medical history or a private list.
How to do it in Jotter
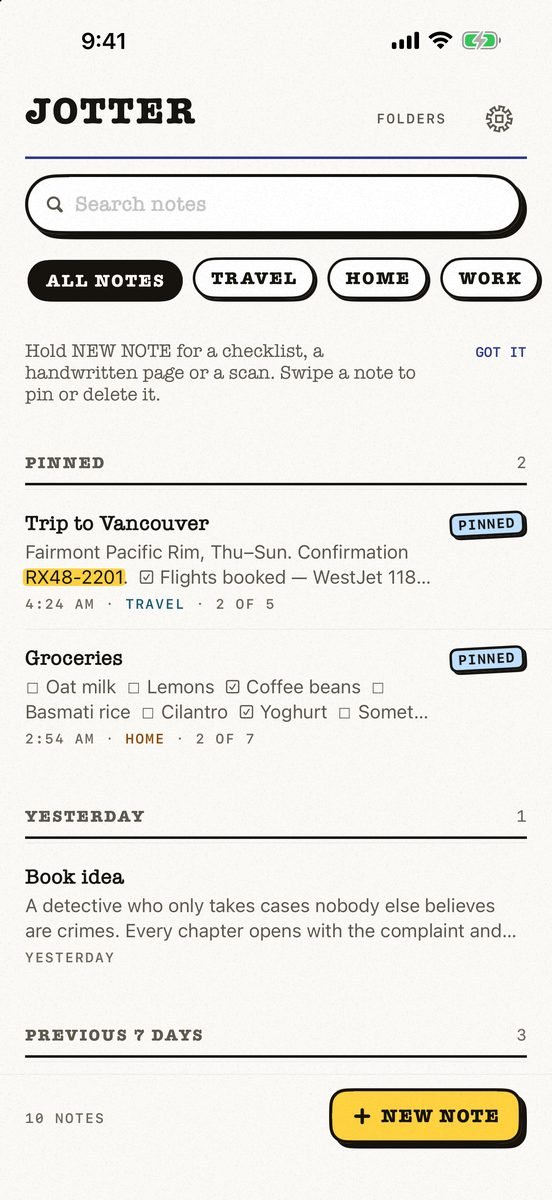
- Open the note. Any note: text, a list, a scan or a voice note.
- Lock it behind Face ID. A note that holds something private can be locked.
- Find the rest instantly. Search reads titles, text, tags and the words in your pictures.
- Nothing leaves your control. No Jotter account and no Jotter server — your own iCloud.
Jotter is free, with no ads. Deleted notes wait 30 days in Recently Deleted, with Undo right there.
Common questions
How do I lock a note on my iPhone?
Open it, tap ••• and choose Lock; open it with Face ID or your password.
Can I lock notes with a different password?
Yes, in Apple Notes: Settings → Apps → Notes → Password → use a custom password.
Can locked notes be recovered if I forget the password?
Not a forgotten custom Notes password — Apple can’t recover it.
Can Jotter lock notes?
Yes — a private note can be locked behind Face ID.
Published · No affiliate links










 MMA.socialUFC fan ratings
 TrendingPunjabiPunjabi music charts
 BoldOpinionAnonymous hot takes
 TopRankedAppsApp rankings